- Old picture frame and backing, any size or color, your choice
- Window cleaner and paper towels, if frame glass is dirty
- Invisible tape
- Scissors
- Wrapping paper of your choice
- Sharpie marker, any color, optional
- Parchment paper, optional

Directions:
1. Find desired frame, any size will work. Clean glass on frame if needed.
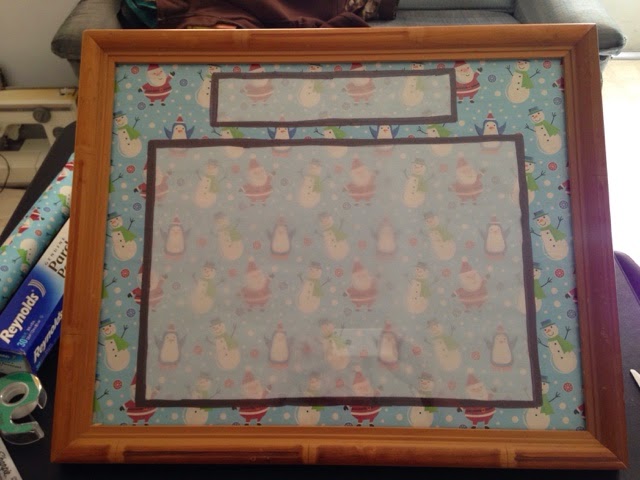
2. Take the wrapping paper of your choice and cut, wrap, and attach it to the frame backing with your tape.

3. Turn the wrapped backing over to the side that you would like to see in the frame. This step is where you would use the optional parchment paper and/or sharpie markers. If you do not wish to use these items continue to step #5
4. If using parchment paper, you can cut out any design and tape it to any space desired on the wrapping paper. If using a sharpie as well, you may want to trace over the outside taped edges of the parchment paper. If using a sharpie only, you can draw or write any permanent design on the wrapping paper board that you would like to be the base of your dry erase board.
5. Now take the wrapped and possibly decorated backing and place it back into the picture frame and secure it into the frame.